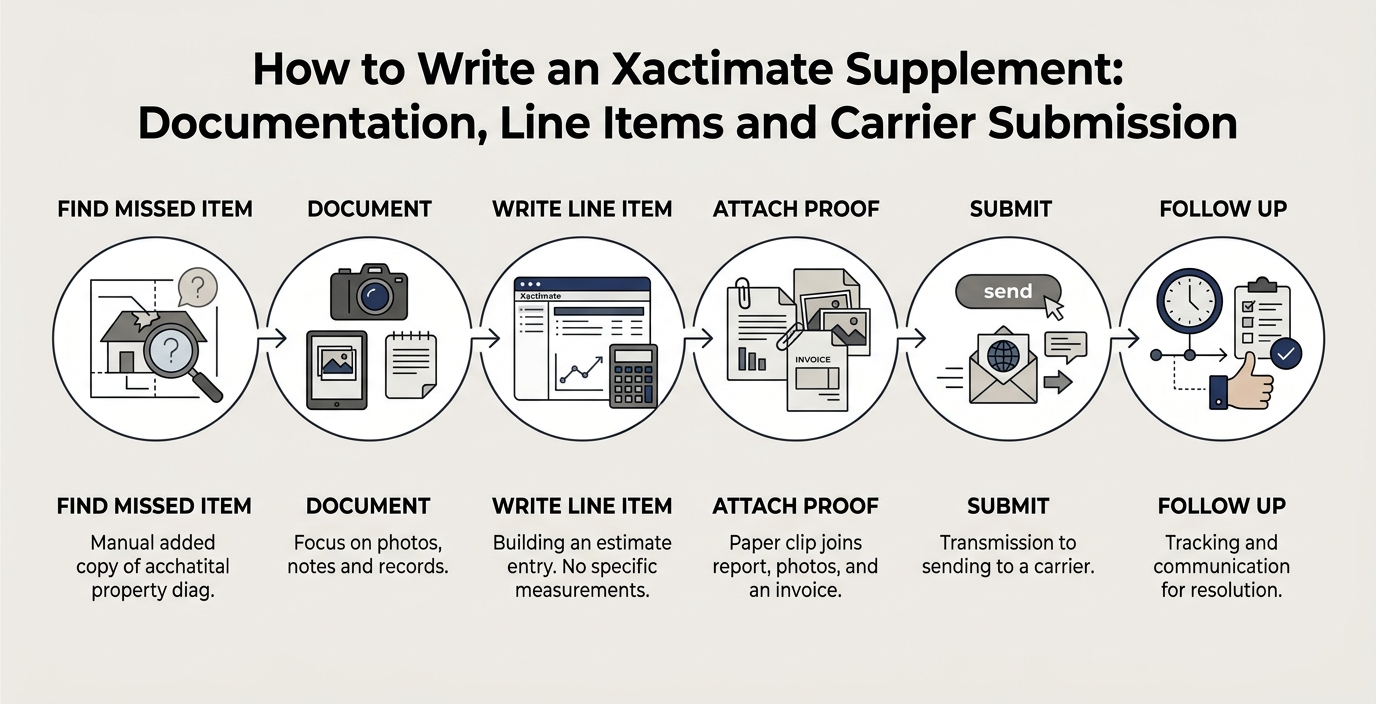

How to document hurricane damage for an Xactimate estimate comes down to five steps. Protect the property with temporary repairs. Photograph storm damage on the exterior and interior with a date and time stamp. Take measurements of every affected area. Keep receipts for all emergency work. Then organize everything by room and trade so each photo supports a line item. When a photo shows the damage, its location and its scale, the estimator can build an Xactimate storm estimate without guessing. This guide covers the photo standards contractors should follow and how each photo maps to an estimate line.
Why Documentation Drives the Estimate
Hurricane claims are won or lost on evidence. Wind, rain, surge and falling debris cause damage that hides behind drywall, under shingles and inside wall cavities. Anything the estimator cannot see in a photo or find in a measurement is easy to leave out of the scope. Knowing how to document hurricane damage protects the contractor from unpaid work and protects the property owner from a short settlement.
A complete hurricane damage estimate Xactimate package gives the estimator three things: proof of damage, proof of size and proof of cause. Photos show the damage. Measurements give the size. Field notes and storm details give the cause. The sections below explain how to document hurricane damage so all three are covered on every job.
Step 1: Make It Safe and Log Your Temporary Repairs
Safety comes first. Do not enter a structure with sagging ceilings, exposed wiring, standing water near outlets or a compromised roof. Shut off power and gas only where it is safe to do so, and wear proper protective gear.
Before any cleanup, take wide and close-up photos of the damage exactly as you found it. Then complete temporary repairs to stop further loss: tarp the roof, board up broken windows, extract standing water and close openings. Most policies expect reasonable steps to prevent more damage. Xactimate can price tarping, board-up and emergency services as their own lines, but only when the work is documented.
For every temporary repair, record:
- What was done, where it was done and on what date
- Before and after photos with a date and time stamp
- Materials used and labor hours
- Receipts for materials, equipment rental and subcontractors
Do not throw away damaged materials until they have been photographed and measured. If an adjuster may need to inspect an item, such as a shingle or a section of flooring, keep a sample. The best way to document hurricane damage during cleanup is to treat every removed item as evidence first and debris second.
Photo Standards: How to Photograph Storm Damage
Good images follow the same rules on every job. Whether you are learning how to document hurricane damage for the first time or training a crew, hold every property to these standards when you photograph storm damage.
- Turn on the date and time stamp: Use a camera or inspection app that records a date and time stamp on each image, and keep the original metadata intact. Do not crop or edit originals, and send full-resolution files.
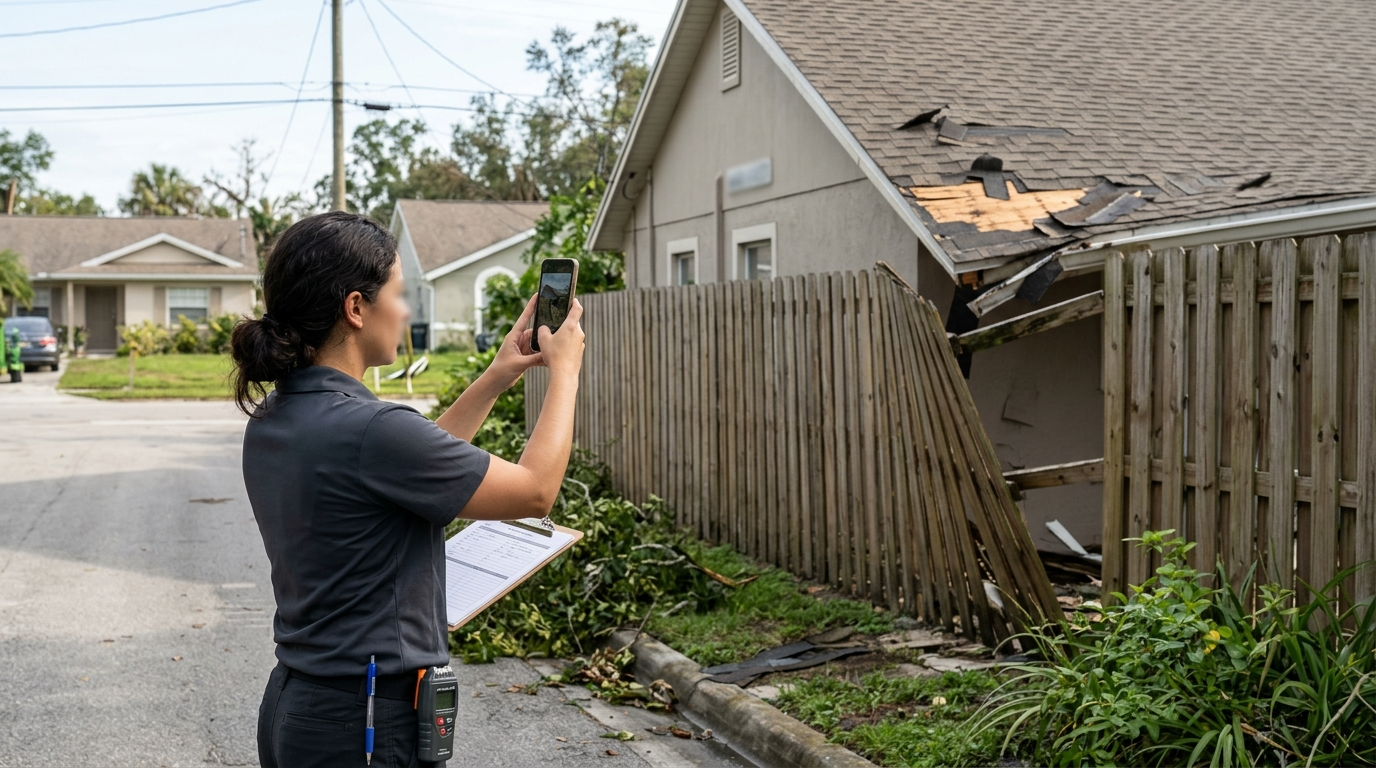
- Use the three-shot rule: For each damaged item, take a wide shot that shows location, a mid-range shot that shows the area and a close-up that shows the damage itself.
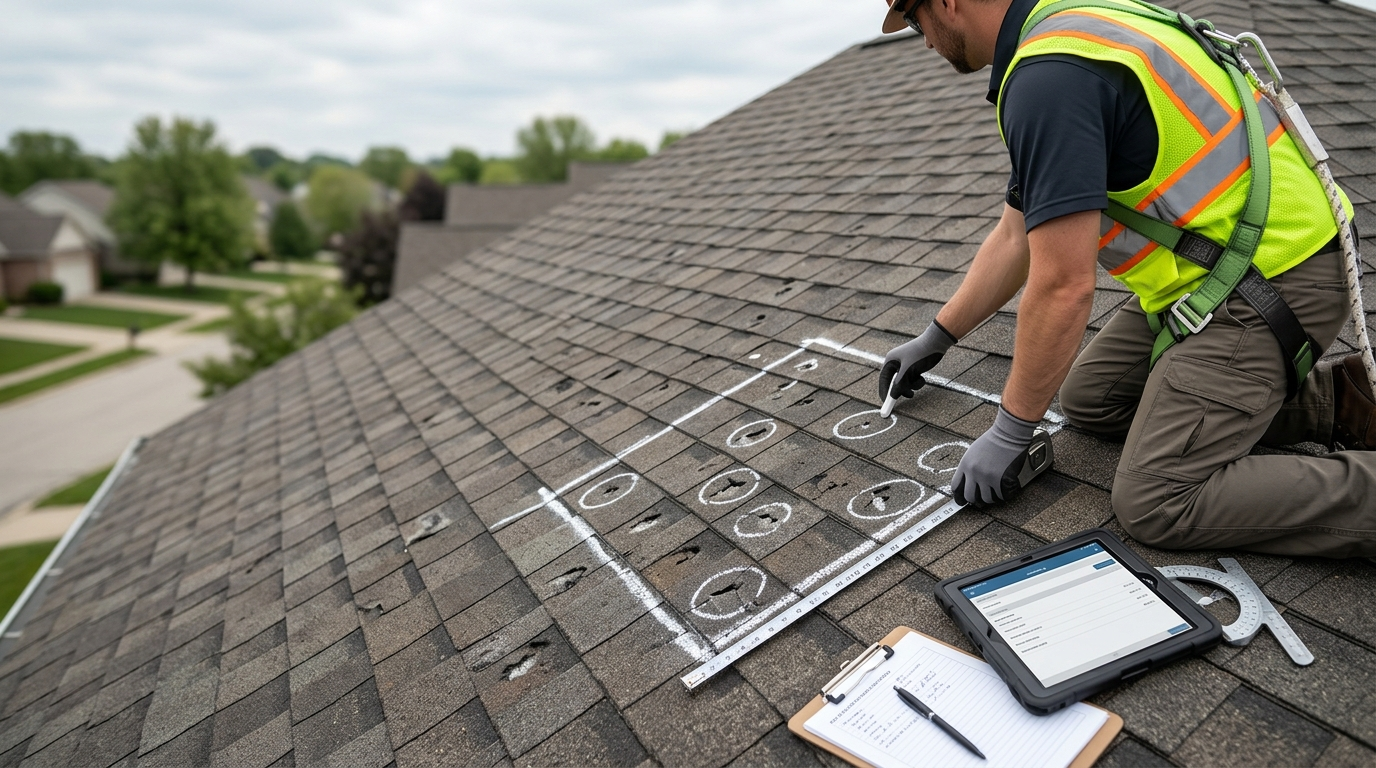
- Include scale: Place a tape measure, ruler or chalk-marked square in the frame. On roofs, mark and photograph test squares.
- Light the scene: Use a flash or flashlight in attics, crawl spaces and closets, and avoid shadows that hide detail.
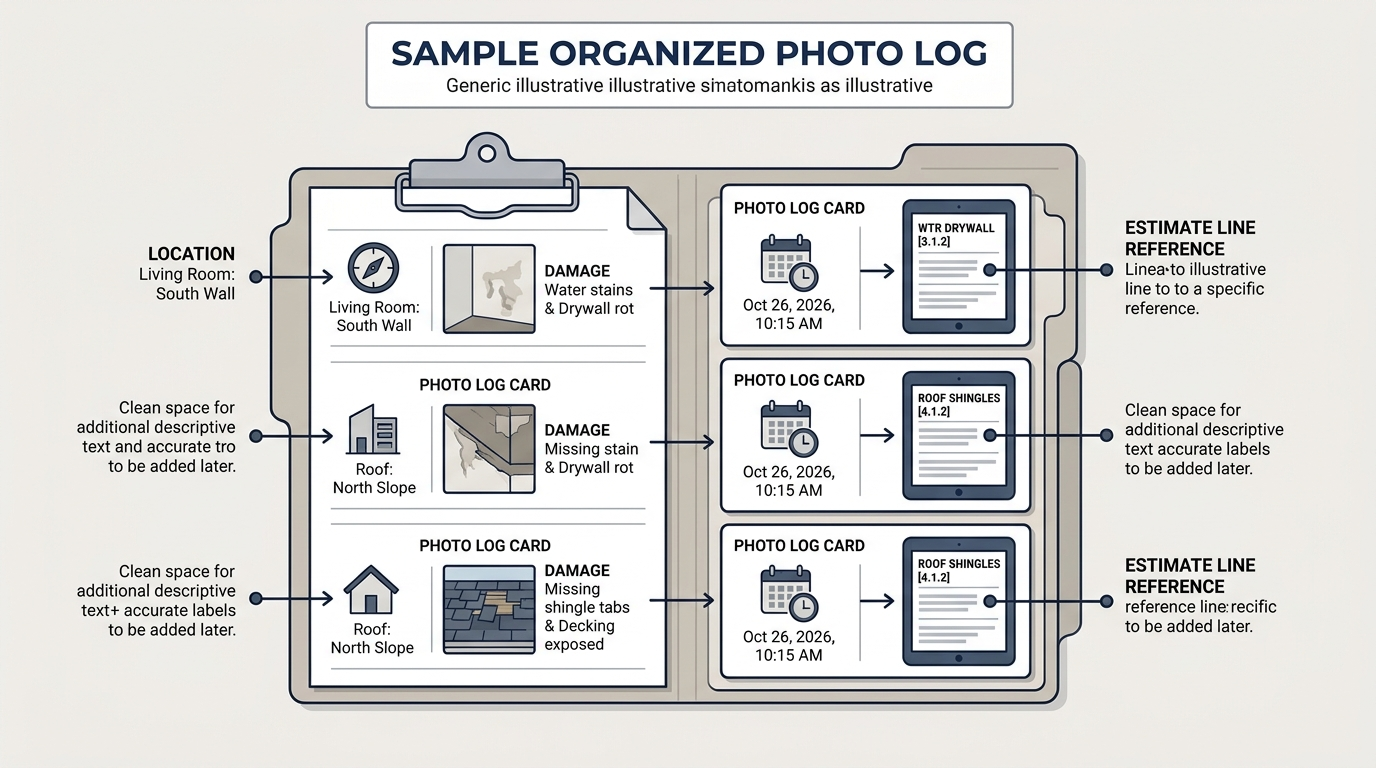
- Label as you go: Use a consistent file name such as 123Main_Kitchen_NorthWall_Water, or place a small whiteboard in the shot.
- Start with the whole structure: Shoot all four elevations before any detail shots so every close-up can be tied to a location.
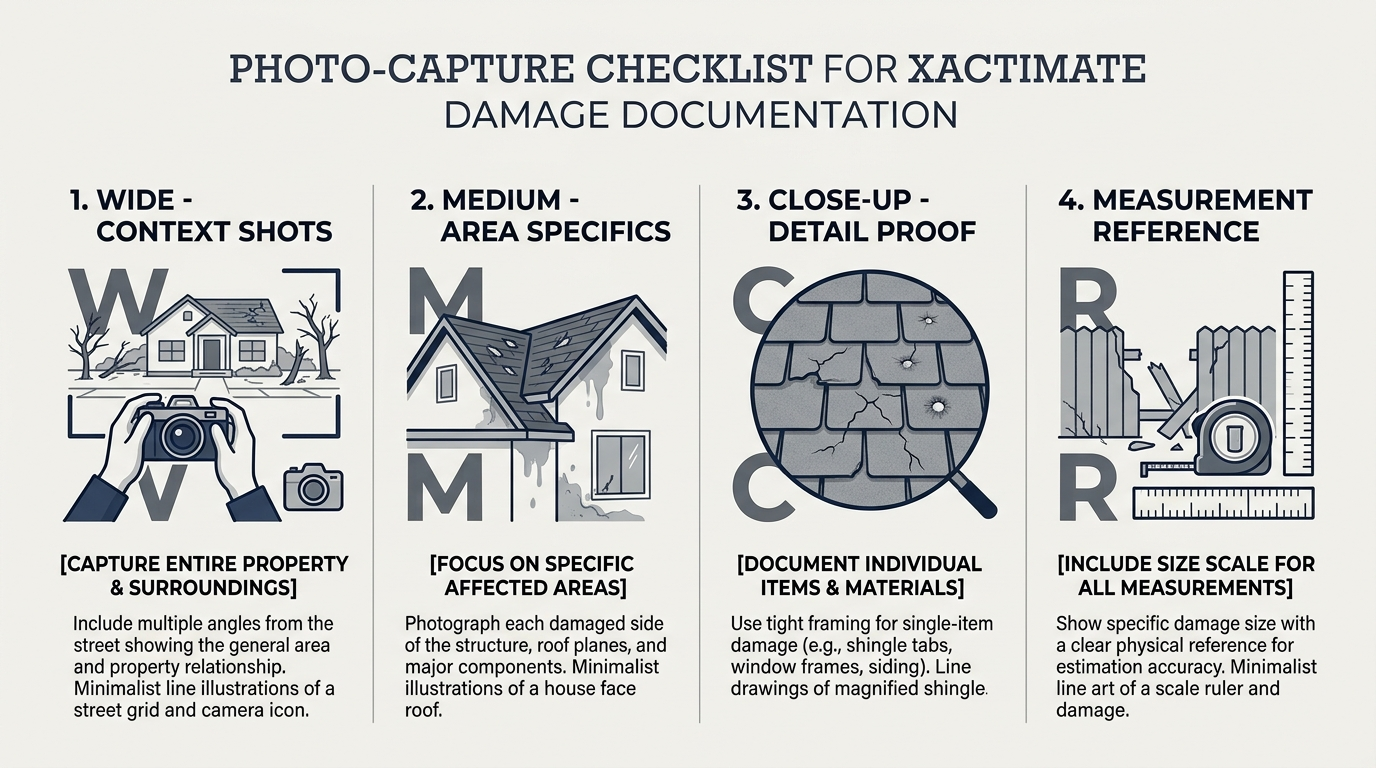
These standards matter because the estimator works from the images alone. A photo with no location, no scale or no date and time stamp is much harder to turn into a priced line.
Hurricane Damage Photos Checklist: Exterior
Use this hurricane damage photos checklist as a walk-around guide. Start outside and work clockwise around the building.
- All four elevations and the full roof from the ground
- Roof surfaces: missing, creased or lifted shingles, exposed underlayment, damaged flashing, ridge caps, vents and pipe boots, with slope and pitch noted
- Soffit, fascia, gutters and downspouts
- Siding, stucco and trim: cracks, punctures and torn-off sections
- Windows, doors and garage doors: broken glass, bent frames and failed seals
- Screen enclosures, lanais, porches and decks
- Fences, sheds, carports and detached structures
- Water lines or surge marks, with a tape measure showing height
- Utilities: meters, service masts and HVAC condensers
Fallen trees need their own set of images. Photograph storm damage from a tree in three parts: the whole tree, the point of impact and the debris on the ground. Note the species and trunk diameter. Tree work is scoped differently from structural repair, so a dedicated Xactimate Tree Removal estimate may be needed to document the tree removal work separately.
Hurricane Damage Photos Checklist: Interior
The second half of the hurricane damage photos checklist covers the inside. Photograph the exterior and interior in the same order on every job so nothing is missed.
- Ceilings: Stains, sagging, and active drips
- Walls: Water lines, bubbling paint, and wet insulation where visible
- Floors: Cupping, buckling, and wet carpet or padding
- Attic: Wet roof decking, daylight visible through the roof, and soaked insulation
- Cabinets and Built-Ins: Damage to cabinets, vanities, and other built-in fixtures
- Damaged Contents: Affected furniture, electronics, and other personal property
- Moisture Readings: Moisture meter and thermal camera readings, with device screens visible in the photos
- Mold or Microbial Growth: Visible growth, if present
- Undamaged Rooms: Photos showing unaffected areas to establish a baseline and help keep the repair scope accurate
Whenever possible, show the source of the water. A photo of a roof opening above a stained ceiling links cause and effect in a way that two separate images cannot.
Measurements: Giving Every Photo a Quantity
Photos show the damage. Measurements put a number on it, and Xactimate prices work by quantity. Gather these in the field:
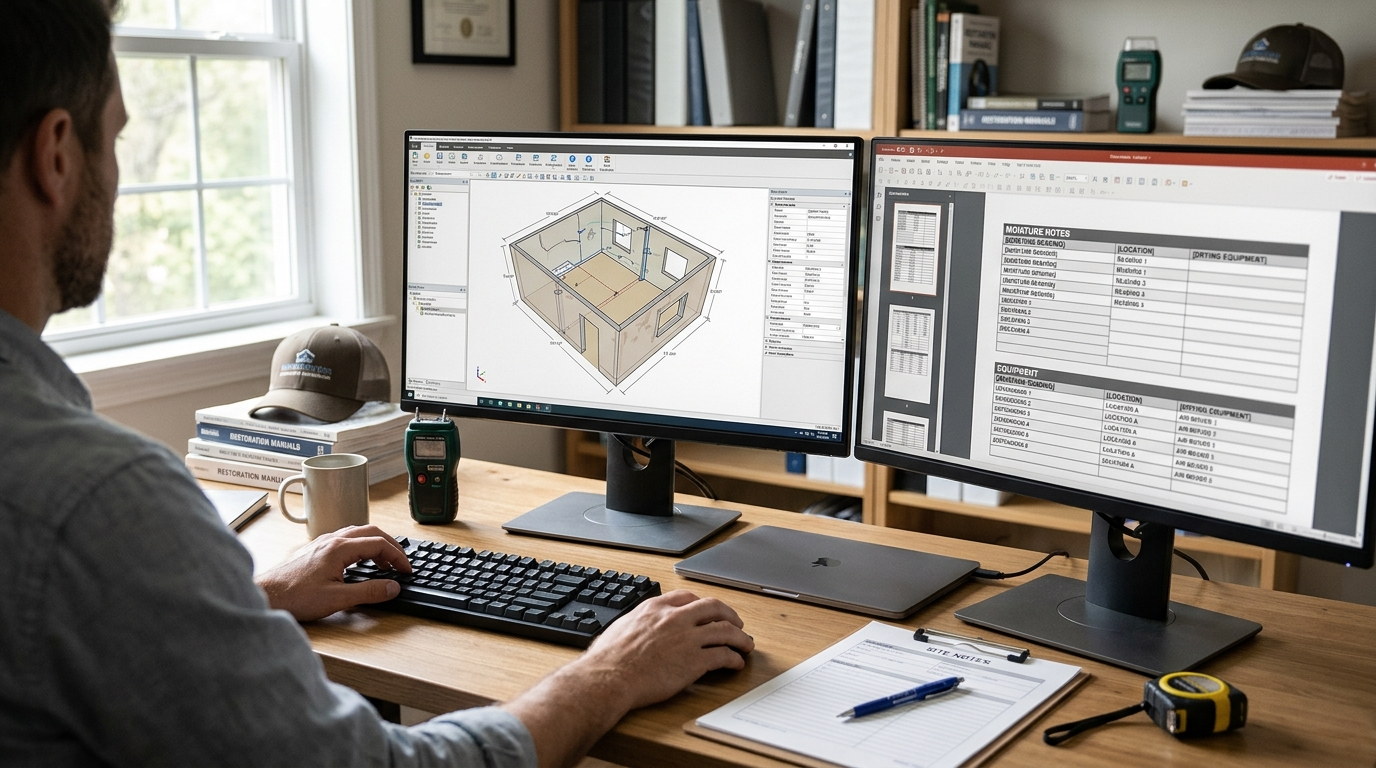
- Room length, width and ceiling height, drawn on a sketch with dimensions
- Affected wall and ceiling area in square feet
- Roof squares (one square equals 100 square feet), pitch, eaves, rakes, ridges, hips, valleys and layers
- Linear feet of gutters, fascia, fencing and baseboard
- Counts of windows, doors, vents and fixtures
- Water height on walls
Aerial imagery can help with large roofs, but verify it in the field before relying on it. Record all measurements on a sketch and in written notes, then reference the sketch in your photo labels. If you are unsure how to document hurricane damage on irregular roofs, photograph each slope separately and label it by compass direction.
Receipts and Records That Support the Scope
Receipts are part of storm damage claim documentation. They prove what was spent on emergency work and give the estimator real costs to compare against pricing. Keep invoices for tarps, board-up materials, dumpsters, equipment rental, dry-out services, permits and subcontractors. Photograph paper receipts so a copy exists if the original is lost.
Add a short written record for each property: the storm name, the date and time of landfall, the reported wind speeds and the first date damage was noticed. This context supports how to document hurricane damage as a story from cause to repair, not just a pile of images.
How Photos Map to Xactimate Storm Estimate Lines
Every image should answer one question for the estimator: what repair does this support, and how much of it is needed? The table below shows how common photos connect to typical line categories in an Xactimate storm estimate.
|
Photo Evidence |
Typical Estimate Line |
Unit |
| Roof slope with missing shingles and test square | Remove and replace shingles, underlayment, drip edge | SQ / LF |
| Tarp over damaged roof | Temporary roof tarp or emergency service | SF |
| Broken window with frame measured | Window replacement, glass | EA |
| Stained ceiling with moisture reading | Drywall replacement, texture, prime and paint | SF |
| Cupped hardwood or wet carpet | Flooring removal and replacement, finish | SF |
| Wet attic insulation | Insulation removal and replacement | SF |
| Downed fence section | Fence removal and replacement | LF |
| Damaged gutters | Gutter removal and replacement | LF |
| Water extraction and drying setup | Extraction and drying equipment | SF / day |
This mapping is why scale and labels matter. A close-up of a torn shingle supports a repair, but a wide shot with a test square and measurements supports the full roof scope. When contractors learn how to document hurricane damage with this mapping in mind, estimates need fewer follow-up questions and fewer revisions.
Common Mistakes When You Document Hurricane Damage
- Cleaning up before taking photos: Evidence removed before it is captured is hard to recover.
- Close-ups only: Without wide shots, the estimator cannot place the damage.
- Missing or edited time data: A photo without a date and time stamp is weaker evidence.
- Guessing quantities: No measurements means no reliable line items.
- Skipping hidden areas: Check attics, crawl spaces and behind cabinets.
- Mixing receipts: Separate emergency work from permanent repair so each is priced correctly.
- Waiting too long: New water, mold and wind events muddy the cause of loss.
Avoiding these mistakes is the simplest way to improve how to document hurricane damage on every future job.
Package Your Storm Damage Claim Documentation
Organize files by room, then by trade, and keep exterior folders separate from interior folders. Before you send anything, run through this storm damage estimate checklist:
- Whole-structure photos of all four elevations and every roof slope
- Wide, mid-range and close-up shots for each damaged item
- A date and time stamp on every image
- Moisture readings and thermal images with the display visible
- A sketch with measurements and a roof diagram
- Logs and receipts for temporary repairs
- Storm name, date and written notes on the scope
A tidy package speeds up the scope because the estimator spends time pricing, not searching. If you need help preparing your estimate, Rebuild Estimator can review your photos, measurements, and supporting documents to help build a well-documented scope.
Not every loss comes from wind and water. If a property also has frozen pipes or ice damage, the same photo and measurement rules apply, and Rebuild Estimator’s Snow and Freeze Damage Estimating Services can help with that scope.
Final Takeaways
How to document hurricane damage for an Xactimate estimate is a repeatable process. Make the site safe, log temporary repairs and keep receipts. Photograph storm damage with a date and time stamp, cover the exterior and interior using a hurricane damage photos checklist, and add measurements so every image carries a quantity. Contractors who follow this method give estimators what they need to write accurate, defensible scopes.
Need a storm or hurricane damage estimate? Send the photos, measurements and scope to Rebuild Estimator for a review and quote.