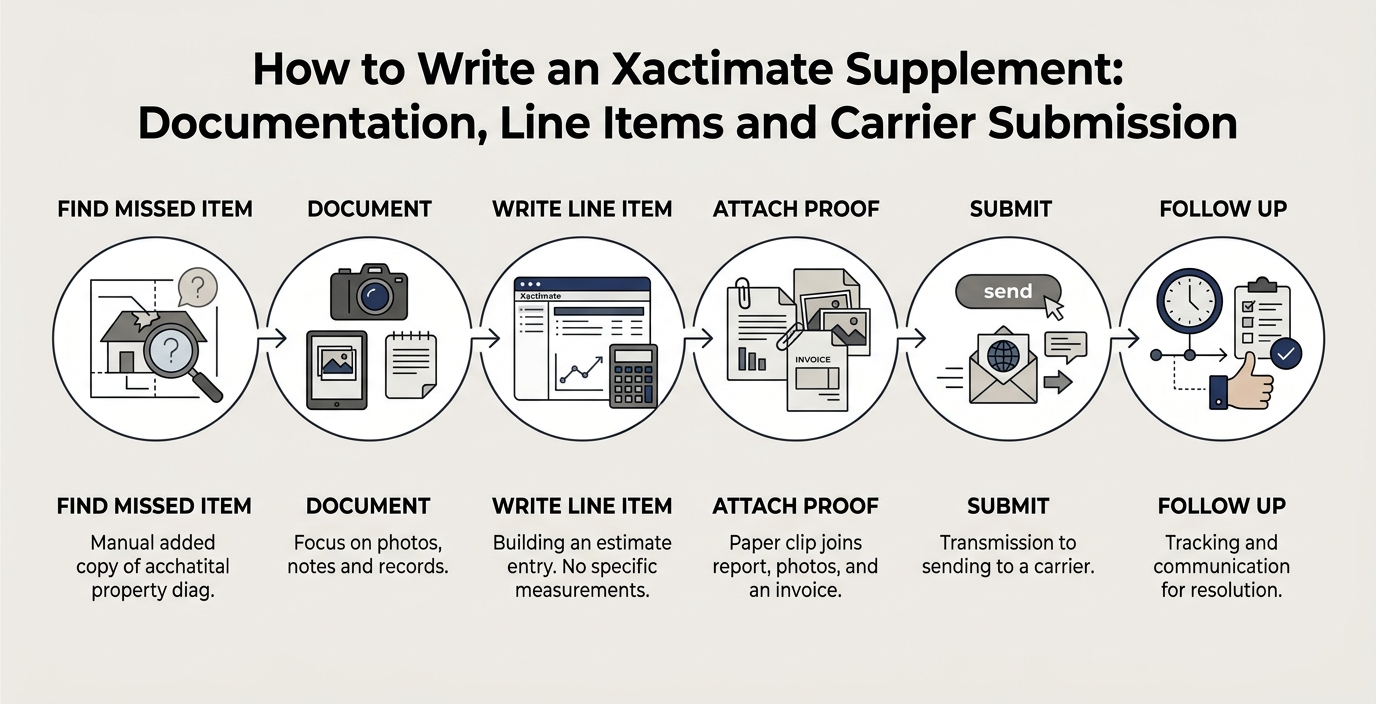


A good hail estimate is won on the roof, not in the software. The process is simple to state: inspect every slope, mark test squares, count hits on each one, photograph everything, and make the repair vs. replace call using carrier and manufacturer guidance before you enter a single line item. Once that field data is solid, building the estimate in Xactimate becomes a structured scoping exercise.
This guide walks through how to do a hail damage estimate in Xactimate, from inspection to a priced, carrier-ready file. One caution up front: there is no magic hit number. Carriers set different guidelines by policy and shingle type, so your estimate should be built on documentation, not on a rule of thumb.
Why Hail Estimates Get Rejected
Most rejected or reduced hail estimates fail for one of three reasons:
- The field documentation doesn’t support the scope.
- The estimator applied a universal hit-count rule the carrier doesn’t recognize.
- The line items don’t match the real roof geometry or shingle type.
There is no industry-wide repair/replace threshold. Some carriers publish test-square guidelines for specific products. Others rely on manufacturer position statements about bruising, granule loss, and mat fracture. If you state a number in your narrative, cite the specific carrier guideline or manufacturer document behind it. That one habit protects you more than any line-item trick.
Step 1: Field Documentation Before Xactimate
The first part of how to do a hail damage estimate in xactimate happens before you open the software. Clean field data is the foundation of the whole estimate. Work in this order:
- Photograph from the ground first. Capture every elevation, plus gutters, downspouts, window screens, siding, and soft metals, before anyone walks the roof. Time-stamped exterior photos help establish the storm event and show collateral damage.
- Identify every slope. Record the designation (front, rear, left, or right), pitch, story height and access difficulty. Every number you collect later gets tied to a slope.
- Walk each slope systematically. Work from eave to ridge in rows so you don’t double-count. Mark damage with chalk as you go and keep a running tally. Follow fall protection requirements and pitch limits, and use drone imagery where a roof isn’t safe to walk.
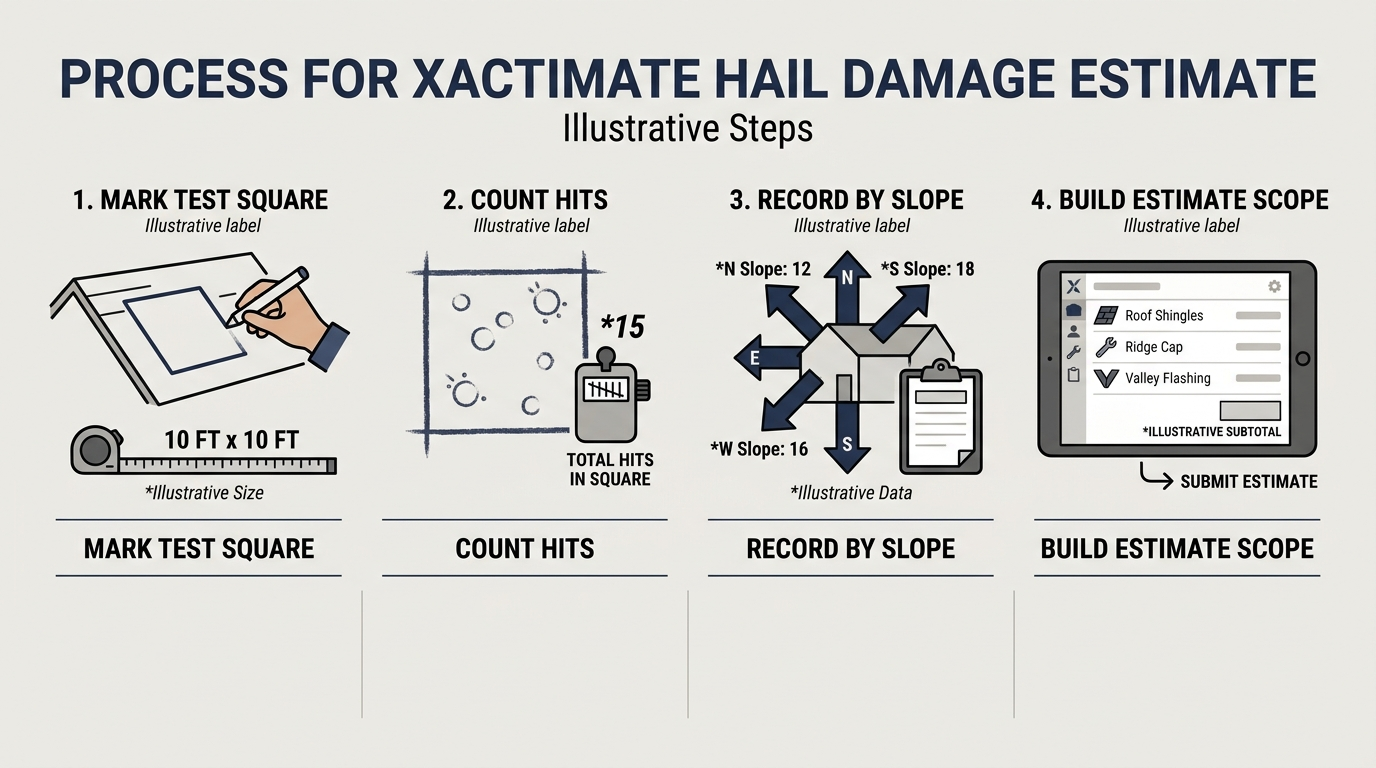
- Mark your test squares. A test square is a 10 ft × 10 ft (100 sq ft) representative section of a slope. Place it in the field of the slope, away from eaves, valleys and ridges, where damage concentrates or wear distorts results.
- Count hits inside each square. Photograph the full square from directly above, then take close-ups of each counted hit.
- Repeat on every slope. Hail is directional. One slope may show 12 hits per square while the opposite slope shows two, and that difference feeds your repair vs. replace analysis.
- Record collateral damage. Dented soft metals, vent damage, sealant strikes and gutter damage strengthen the claim and can support replacement when roof hit counts are borderline.
This is the part new estimators rush, and it is the part that most often decides whether a claim is approved as scoped.
Step 2: How to Perform a Hail Test Square Count
The test square count is the quantitative backbone of any repair vs. replace decision. Here is how to perform and document it defensibly:
- Use a consistent size. The standard is 10 × 10 ft, but some carriers specify test areas for particular products. Follow their guidance when it exists.
- Choose representative locations. Stay a few feet away from eaves, ridges, valleys, penetrations and foot-traffic paths, because those areas skew counts high or low.
- Count only qualifying damage. Qualifying hits typically include bruises with mat fracture, punctures and exposed fracture surfaces. Scuffs or soft spots without fracture are judgment calls. Photograph them and log them separately.
- Photograph in layers. Take a wide shot of the full square with chalk lines visible, a mid-range shot showing hit density, and close-ups of individual hits. Label every photo by slope and test square.
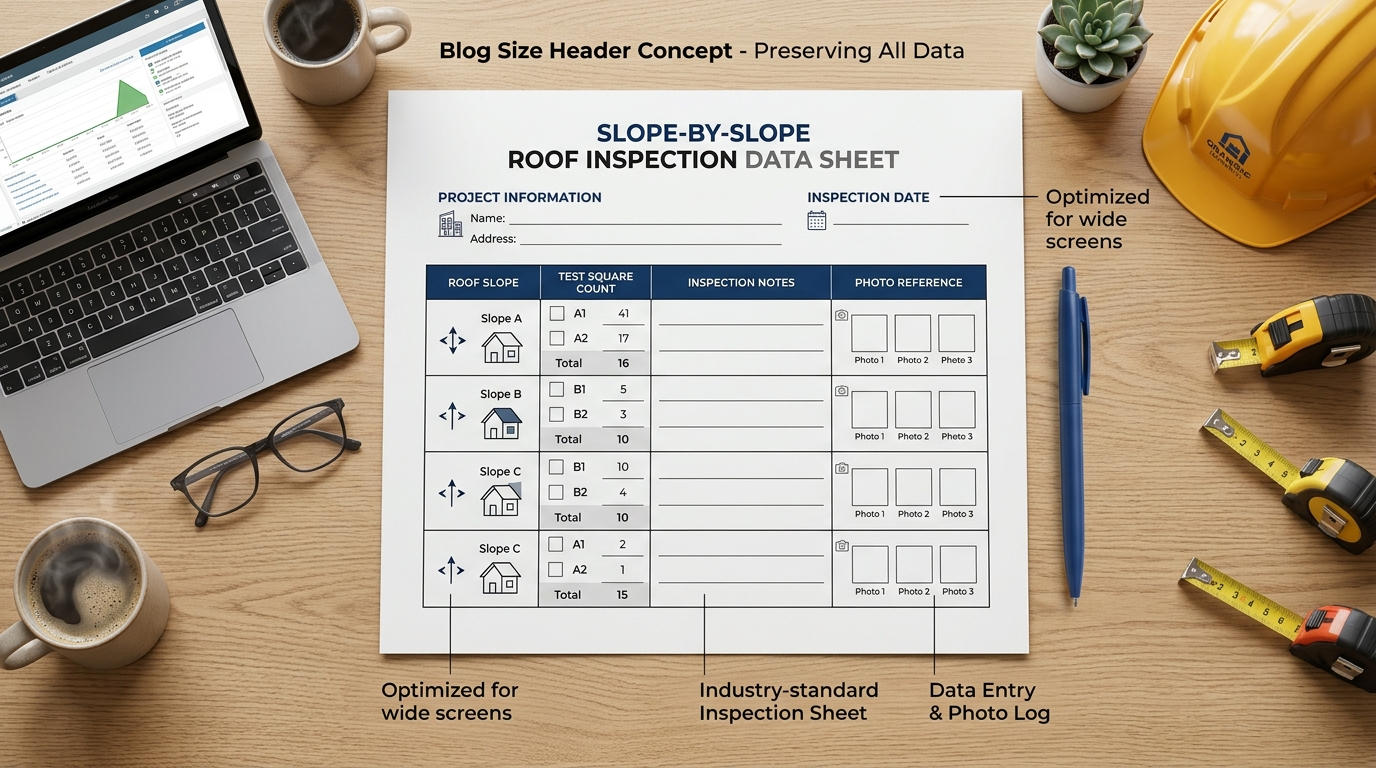
- Log counts per slope. Your roof report should show the slope designation, number of test squares, hits per square and any excluded areas.
The hit count is evidence, not a verdict. A carrier may approve replacement at one density on a laminated product and require more documentation at the same density on another.
How Many Test Squares Should You Mark?
Enough to represent the slope accurately. On a simple rectangular slope, one square in the field is often enough. On large or irregular slopes, mark two or more, average the results and note each location in your report. When in doubt, over-document: an extra test square costs minutes, while missing data can cost weeks.
Step 3: Slope-by-Slope Analysis and Repair vs. Replace
A slope-by-slope review protects you from the two biggest scoping errors: pricing a full replacement when only two slopes qualify, or pricing a repair when damage density justifies replacement.
For each slope, record square footage, percentage of total roof area, hits per test square, shingle type, age and color, plus any ridge cap hits, valley damage or failed flashing.
Then make the call honestly:
- Repair is generally scoped when damage is isolated to one slope, a matching product is available, and carrier guidance supports it. In Xactimate, that means repair or partial tear-off entries and matching-product items.
- Replacement is generally scoped when hits meet the carrier or manufacturer threshold across multiple slopes, when matching isn’t feasible (a discontinued shingle or faded color), or when collateral evidence makes a partial repair unreasonable.
Cite the source. Major shingle manufacturers have published statements on hail damage characteristics, and several carriers reference them. The Insurance Institute also explains how hail can dent, breach, or displace granules on asphalt shingles. Reference the applicable document in your estimate notes.
Write down the rationale for every slope. Adjusters approve what they can verify, and a slope-by-slope narrative with labeled photos beats a single roof-wide number.
Step 4: Building the Estimate in Xactimate
Once your field documentation is complete, how to do a hail damage estimate in Xactimate becomes a structured process of transferring accurate roof measurements, damage findings, and scope decisions into the software. With the field data organized, you can build an Xactimate hail claim estimate that connects the documented roof damage to the appropriate measurements, line items, and supporting photos.
Set Up the Project
Create the project with accurate loss details: date of loss, insured information, and carrier profile where applicable. Then select the correct price list for the loss date and ZIP code. Xactimate pricing is localized, and the wrong list is an immediate credibility problem.
Sketch the Roof Accurately
Use Sketch to draw each slope with true dimensions and pitch. A precise sketch drives your tear-off, underlayment, and shingle quantities. For complex roofs, break the sketch into facets that mirror your field inspection so quantities reconcile with your measurements. If you start from aerial measurement data, verify it against what you measured on the roof.
Scope Tear-Off and Replacement
Work in the roofing category and scope per slope where conditions differ:
- Tear-off. Match the existing shingle type. Laminated and three-tab shingles are separate line items at different prices.
- Underlayment and components. Felt or synthetic underlayment, drip edge, ridge cap, valley metal, pipe jacks, and step flashing are frequently missed, especially on partial scopes.
- Shingles. Enter the replacement using the correct shingle type and product line.
- Roof conditions. Add steep-slope and high-roof charges where the roof calls for them.
- Waste. Apply realistic waste factors. Hip roofs and roofs with many valleys typically run higher than simple gables.
- Overhead and profit. Add O&P where the policy and claim circumstances allow.
Scope Repairs When the Analysis Supports Them
If your slope-by-slope review supports repair on specific slopes, use repair entries for the affected areas and include blend and matching considerations. Never quietly convert a repair scope into a replacement scope without documentation. That pattern is exactly what triggers carrier audits.
Attach Your Documentation
Include your photos labeled by slope and test square, your roof report, and a short narrative citing the carrier or manufacturer guidance behind each repair vs. replace decision. Record your test square methodology in the estimate notes so the adjuster can replicate it.
Understand How Depreciation Affects the Numbers
Hail estimates are reviewed in terms of replacement cost value (RCV) and actual cash value (ACV). Roof age and condition drive depreciation, and policy terms determine what is recoverable and when. When replacement is the documented scope, build the full replacement estimate and let the policy terms determine depreciation and recoverability.
Review, Price and Export
Run a completeness check before you finalize. Every slope in your field report should appear in the sketch, every slope with hits should have supporting line items, and every photo should be referenced. Then price the estimate, sanity-check the totals against local market reality and export in the carrier’s preferred format. Most errors are caught at this stage, not on the roof.
Hail Estimate Checklist
Before you export, confirm:
- Correct price list for the loss date and ZIP code
- Sketch facets match your slope-by-slope field report
- Tear-off quantities match the existing shingle type
- Repair entries documented on any slope scoped as repair
- Code items verified against the local jurisdiction
- Waste factors realistic for the roof geometry
- Photos labeled by slope and test square
- Carrier or manufacturer guidance cited for each repair vs. replace decision
- Test square methodology recorded in the notes
This list catches the errors that most often lead to scope questions, revisions and submission delays.
Common Mistakes That Trigger Supplements and Denials
- Applying one hit threshold to every claim: Thresholds vary by carrier and shingle type, so always cite the source.
- Skipping slope-by-slope documentation: A single roof-wide number invites challenge.
- Delivering unlabeled photos: Every photo should identify the slope, test square and orientation.
- Using the wrong line items for the shingle type: Pricing differs between three-tab and laminated products.
- Ignoring code items: Ice and water shield, drip edge and decking requirements vary by jurisdiction. Check local code and add items accordingly.
- Scoping from aerial data alone: Aerial measurements help with quantities, but they cannot confirm hits.
If you’re working under a specific carrier’s rules, review their current guidance before scoping rather than after. If you’re also estimating storm-related losses beyond hail, see our wind damage estimate services for dedicated wind-loss estimating support.
When to Bring In an Estimate Review Partner
If you’ve completed the roof inspection and documented the damage but are unsure whether your Xactimate scope is complete, an estimate review can help identify missing line items, measurement inconsistencies and documentation gaps before submission. This is especially useful for complex roofs, partial-slope repairs or claims where carrier requirements are difficult to interpret.
A qualified reviewer can compare the field documentation with the Xactimate sketch, quantities and scope to make sure the estimate accurately reflects the documented damage and applicable carrier or manufacturer guidance.
Frequently Asked Questions
1. How many hits per test square justify a full roof replacement?
There is no universal number, and anyone promising one is guessing. When learning how to do a hail damage estimate in Xactimate, evaluate hit counts alongside carrier guidelines, policy language, shingle type and documented functional damage. Manufacturer position statements can also differ on what qualifies as damage. Cite the specific guideline you’re applying and document your test square methodology in the estimate notes.
2. Can I write a hail estimate in Xactimate without climbing the roof?
You can build a draft from aerial measurements, but a credible hail scope requires field verification: test squares, hit counts, close-up photos of bruises and fractures, and collateral damage checks. Without that documentation, the estimate rarely survives adjuster review.
3. What’s the difference between a hail estimate and a hail supplement?
A supplement adds scope that was missed or changed after the initial estimate, such as additional code items, documented damage or scope identified during the repair process.
4. Should I price repair or replacement when hits are borderline?
Scope what your documentation supports, cite the governing guidance and note the uncertainty in your narrative. Guessing in either direction is how estimates get denied. Documentation is how they get approved.
Bottom Line
A strong hail estimate is a field discipline first and a software skill second. When learning how to do a hail damage estimate in xactimate, get the test squares, hit counts, slope-by-slope data and repair vs. replace rationale right, and the Xactimate file practically builds itself. Document every slope and let carrier guidance, not habit, drive the scope.
Need a carrier-ready roof, hail or wind damage estimate? Send your measurements, photos and scope to Rebuild Estimator for a review and quote.